Airfix 1:72 Standard Tilly, Bedford MWC & BSA M20 from the D-Day Air Assault kit


Airfix 1:72 Standard Tilly, Bedford MWC & BSA M20 from the D-Day Air Assault kit
After more than 2 months in the making my “Rhubarb over Somerset” diorama is done. If it were to be displayed anywhere I’d add a frame and plaque but over time it will probably be dismantled and its parts repurposed for another creation as it is the building that I find most fun.

The inspiration for this diorama is a mysterious incident which occurred 80 years ago in Somerset not far from where we live. It was on a summer morning of 4th June 1943 that a Czech fighter pilot of 313 Squadron stationed at RAF Church Stanton (renamed RAF Culmhead in December 1943) clipped the roof of a GWR railway carriage with the wing of his Spitfire Mk.Vc, causing him to tragically crash in a farmer’s field near Bradford on Tone.
During this period of WW2 the squadron was engaged in ‘Operation Rhubarb’, offensive low-level sweeps over northern France harrying ground targets such as military convoys and trains. It is possible that this pilot was at the time of the incident practicing a low-level attack on a passing locomotive and approached too low to clear the carriages.
In creating this diorama I’ve incorporated a number of images from the period which although having no historical link to the event of the 4th June could well have been seen at some time or another in the Somerset countryside during the summer of 1943. Look out for the men of the Home Guard manning a pillbox along the Stopline Way, originally built to prevent a German beach invasion getting to London.

The Tank Regiment’s 11th Armoured Division are on the move from Bovington Camp, the Armoured Fighting Vehicles School, preparing drivers, gunners and engineers for D-Day. On the railway bridge a Scammell tank transporter carries a ‘Hobart Funny’, the Churchill Bridge Layer (coincidentally Percy Hobart was the first commander of the 11th Armoured Division when it formed in 1941), while, in the absence of signposts, a group of officers are having to check their map for directions.

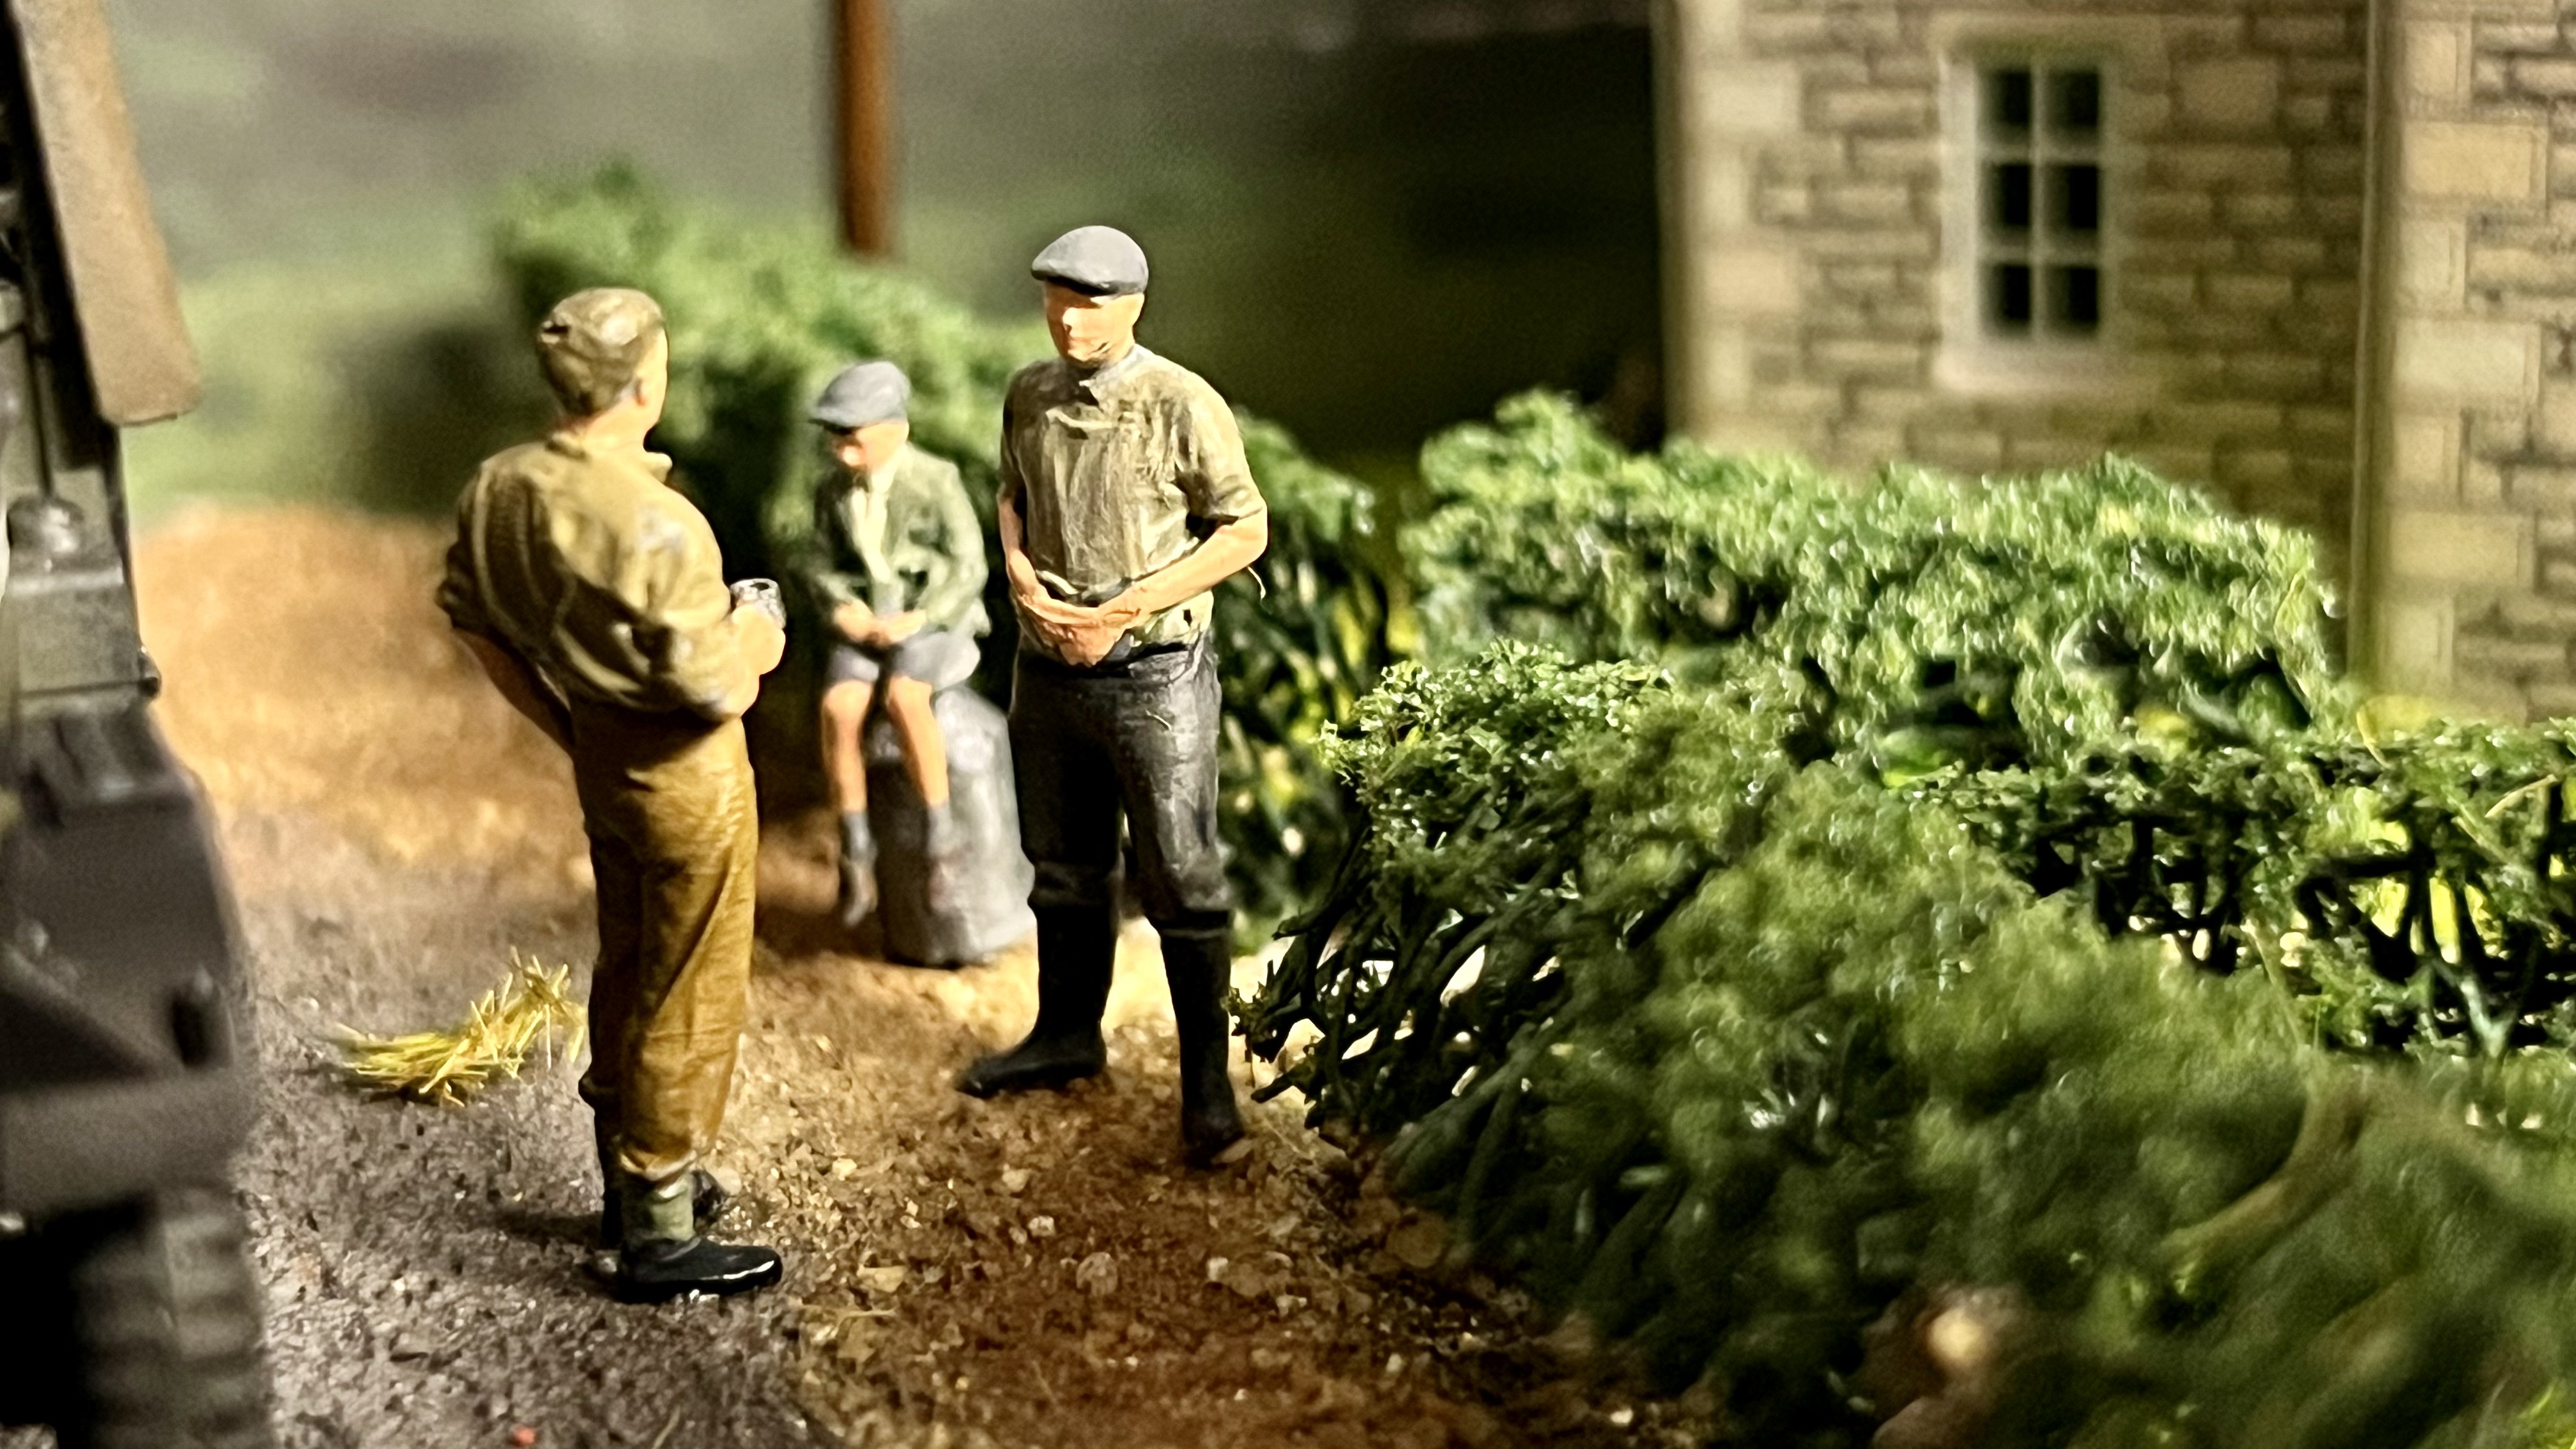
Meanwhile, a farmer shares a cup of tea with a soldier from 88 Brigade Workshop (REME) while a boy watches on sat on a milk churn.
The railway signalman chats with a fellow soldier while he waits for the train to pass so that the rest of the convoy can proceed over the Bradford level crossing. I like to imagine that the tank transporter should be part of this convoy but they got separated hence now being lost!

The stars of the scene are the Castle Class locomotive which I’ve repainted in a drab GWR wartime livery and a couple of clipped wing Spitfire Mk.V in RAF Church Stanton markings. The wings are clipped as this configuration was found to improve manoeuvrability at low level.

Phew!
For those interested, here’s a list of the 20+ models and figures I’ve used in the making of this diorama:
Airfix 1:72 Spitfire Vc, 1:76 Scammell Tank Transporter, Churchill Bridge Layer, Bedford QLT & QLD Trucks & Willies Jeep.
Modelu military, farm and railway figures
Ratio Plastic Models 1:76 Telegraph Poles, Crossing Gates, GWR Signals & Signal Box
Metcalfe 1:76 Stone Style Railway Bridge, Manor Farm House & Pillbox.
Peco 1:76 Lamp Hut & Wooden Sleeper Tracks.
Ancorton Models 1:76 Anderson Shelter.
Here are my completed models of the Bedford QLD and Bedford QLT from Airfix’s 2010 tooled 1:76 kit. Many different body styles were designed for the QL chassis and it is the QLD general service truck and QLT "Trooper" troop carrying vehicle that have been provided in this kit.

While an impressive set of decals are supplied for a variety of different regiments there is unfortunately little historical explanation as to which to use. After some research and personal choice, I have selected for both trucks the markings of 88 Brigade Workshop (REME), a regiment with whom I’m proud to say my father served. And, as I acquired these to play a key role in my “Somerset Rhubarb” diorama and with the Tank Regiment base at Bovington being a shortish drive down the road, it made sense to me to have them attached to the 11th Armoured Division, which, formed in 1941, were responsible for many victories in the Battle of Normandy through to the crossing of the Rhine in 1945.


The Royal Electrical & Mechanical Engineers (REME) were formed on 1 October 1942 following the observations that Rommel’s swift advance towards Egypt owed much of its success to the German maintenance crews who mended both German and British tanks on the battlefield and sent them back into action within a few hours. Prior to mechanical maintenance of the Army’s equipment being centralised under the command and control of the REME, responsibility was inefficiently being shared between the Royal Army Ordnance Corps (RAOC), the Royal Army Service Corps (RASC), Royal Engineers (RE) and Royal Armoured Corps (RAC). Mike Sibbons, ex REME and Archivist at the REME Museum, wrote in his 1988 book on the REME ‘From the Archives’, that “Already, within a few months of formation, this new British Army organisation had triumphed in the Middle East campaign. Never before in British history has an army fought with more efficiently maintained equipment”.
A REME Brigade Workshop consisted of 272 officers and men and 97 vehicles organised into 4 echelons of repair. These were: 1st echelon Light Aid Detachment (LAD), 2nd echelon Mobile Workshops, 3rd echelon Semi-Mobile Workshops and 4th echelon Static Based Workshops. My trucks are intended to be part of the 2nd echelon Mobile Workshops Light Aid Detachment (LAD) which deployed with the tanks, artillery regiments and infantry brigades, equipped to carry out light repairs, replacements and recovery of equipment in the field. Using artistic licence rather than on this occasion any scratch building skills, it is my assumption - based on historical photographs - that the QLT is close enough to a REME workshop lorry as used by the LAD, and I need make no changes to the QLD which is perfect in its predetermined general service truck role.

The build and detail in these kits is very presentable for their scale and price, although I did decide to not use the glazing provided due to its totally unrealistic thickness. I could have used a piece of clear plastic sheet but thought I’d try an application of Krystal Klear which, although it was more than capable of filling the required area did, due to the size of the window frame, dry a little bit like a concave lens. I still think they look good enough though
After two part days at the bench, my attempt at Airfix’s Vintage Classic 1:76 scale Scammell Tank Transporter is complete. Being a kit reproduced using the original 1962 moulding and instructions, it’s a far cry from the quality of today’s Airfix offerings but sometimes it’s nice to have a challenge!
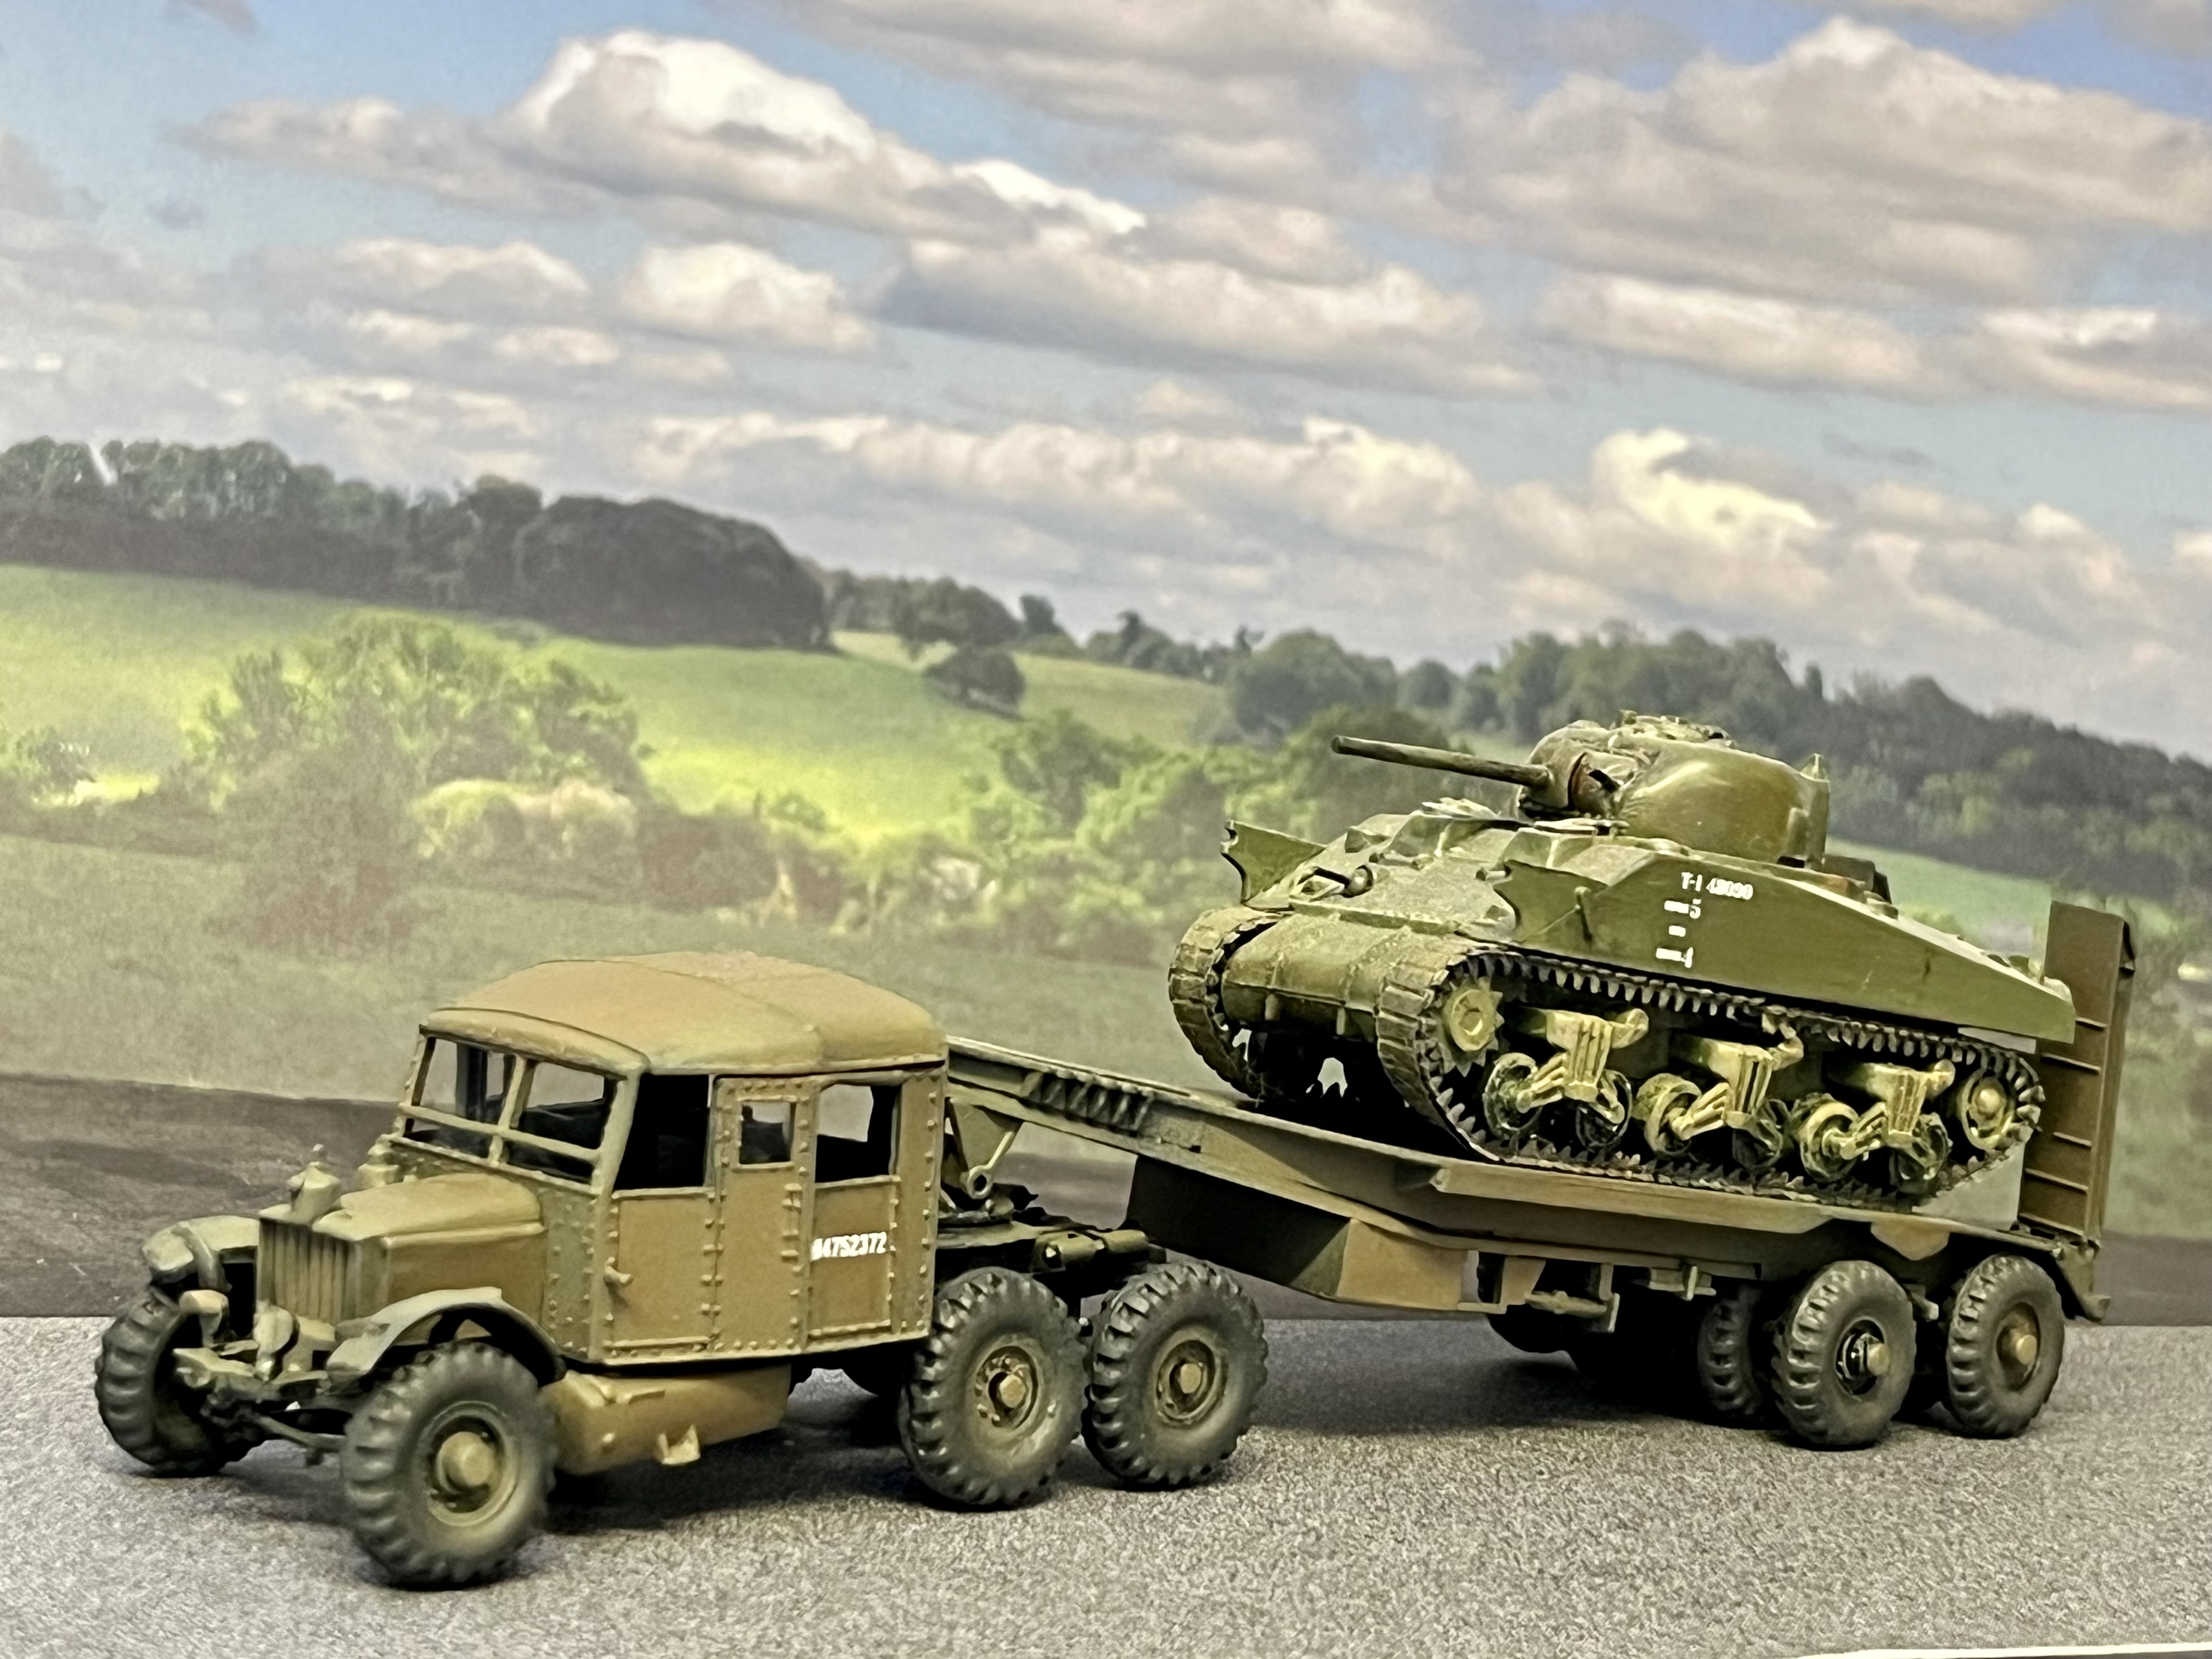
I plan to use my Scammell in a scene within my Somerset diorama together with a few other trucks yet to be built. I’m not yet decided on which tank to have on its back, but I’m tempted to have it covered in a tarpaulin for an added bit of mystery … keep tuned
Last Thursday morning I set off back to Devon on a 350 mile drive from Cumbria. 10 miles into the journey, my car’s water pump died and I was stranded. My motoring recovery service failed in their contractural obligation to bring me home, such that my car has been languishing in a Carlise garage over Easter and is only now receiving attention … but that’s another story.


The scale modelling tale is one of me returning to where my hobby started, some 50 years ago, with what tools I could find around the house and a hairy stick to colour my creations!
Feeling the need to build, I begged a lift over to a local garden centre close to my temporary location where I knew they had a large stock of Airfix kits. Without any of my usual tools nor paints with me, I decided on a couple of AFV starter kits which I felt I could better get away with a rough and ready finish.


Using a set of snips and Pollyfiller, nail clippers and file, I set about the build. This certainty made me value the work that goes behind the scenes to craft tools specific for scale modelling! The builds went well, with the only fly in the ointment being that 4 of the 6 pots of acrylic paint were dried up and unusable. A return to the garden centre and the raiding of another couple of new kits resolved this, but why Airfix continue to rollout Starter Kits with this issue is beyond me.
I was going to wait until I got home to apply the decals over a nice smooth layer of varnish but having completed the builds all too quickly and with still no sign of my wheels, I pressed on with the ‘in the field’ build, just as my younger self would have all those years ago. What innocent fun I had
This is the final post from my Falklands War scale modelling project, inspired by a good friend of mine who took part in Operation Corporate, serving with one of the Royal Navy's Sea King anti-submarine squadrons. After building a model of the helicopter on which he actually worked, I found I could not just stop there. Each and every book and article I then picked up, drew me in deeper. Each page turned and new fact learned was then brought to life through the build of a new model; the acquisition of some, either no longer in production or not available in the UK, also led me on some interesting journeys!
The Falklands War ended with the surrender of Argentine forces on Monday 14th June. British Task Force commander, Admiral Sandy Woodward, says the conflict lasted 100 days, which give or take a day or two is about the same time it has taken me to build, paint and prepare my 20 plus models, with accompanying pilots, mechanics and troops.


My attempt was not create an exact replica of the street but more to place my models in a diorama with a landmark which would resinate with the viewer. In adding this to my growing mosaic of scale scenes, it now sits between the glaciated mountains of Operation Paraquet, the beach landings of Operation Sutton and along side a Korean MASH unit and a Malayan Emergency jungle scene!
So, returning to the Falklands War and jumping back to D-Day, Operation Sutton, and 21 May 1982.
Aboard the ferry Norland Lt Col H Jones with 2 Para asked the naval signaller to flash HMS Broardside along side is any orders had been received. The response was:
TOP SECRED OPERATION SUTTON
 |
| The British Sea King and Wessex Helicopters |
 |
| The British Sea Harrier FRS1 and Harrier GR3 Aircraft |
 |
| The Argentine and British Land Forces |
 |
| The British Ships and Landing Craft |
 |
| The Argentine Aircraft |
Operation Sutton was the code name for the British landings on the beaches of San Carlos Water, East Falkland in May1982 as part of Operation Corporate, the overall British operation to retake the Falkland Islands and its territories, following the invasion by Argentine military forces.
The operation opened on the evening of 19th May with the repositioning of 2000 troops, from SS Canberra to HMS Fearless & her sister ship, HMS Intrepid. At just after 14:00 on the afternoon of 20th May, control of the Task Force passed from Admiral Sandy Woodward's Battle Group and HMS Hermes, to Commodore Mike Clapp's Amphibious Group and HMS Fearless; Commodore Clapp would be leading the next phase, the landing of troops and the retaking of the Falkland Islands.
At 19:00 on 20th May, HMS Antrim and HMS Ardent detached from the Battle Group to both secure access to Falkland Sound and make the Argentines think the landings were happening anywhere but in San Carlos Water! At 22:00 Wessex helicopters from HMS Antrim dropped SBS troops to remove the Argentine forces guarding the lead into San Carlos Water, high on Fanning Head.
Just before 02:00 on 21 May, HMS Fearless steamed into Falkland Sound, one mile ahead of HMS Intrepid. 30 minutes later HMS Fearless opened the stern gates of her flooded docks and 4 loaded LCVP (Landing Craft Vehicle Personnel) pushed out into the sea. There were now 11 ships deployed around the north-western shores of Falkland Sound either preparing to disgorge troops or preparing to bombard Argentine positions. At 03:50 HMS Antrim opened fire on Fanning Head with 250 shells in less than 30 minutes. Meanwhile, at around 07:30 the LCVPs from HMS Fearless packed with 40 Commando (together with a Scorpion and Scimitar tank) and landing craft from HMS Intrepid with Colonel H Jone’s and 2 Para, offloaded their troops on the north and south beaches of San Carlos Water. There was very limited enemy resistance as 40 Commando ran up the first Union Jack to fly in San Carlos Settlement since the 2nd April invasion

The landings, sparked a strong reply from the Argentine’s airforces and led to the Battle of San Carlos between aircraft and ships that lasted from 21 to 25 May 1982. Low-flying land-based Argentine jet aircraft made repeated attacks on ships of the British Task Force, which, because of its ferocity and damage sustained to the fleet, became better known as the “Battle of Bomb Alley”. This was the first time in history that a modern surface fleet armed with surface-to-air missiles and with air cover backed up by carrier-based aircraft defended against full-scale air strikes. The British sustained losses and damage but were able to create and consolidate the beachhead and land troops. The actions had a profound impact on later naval practice. During the 1980s most warships from navies around the world were retrofitted with close-in weapon systems and guns for self-defence.

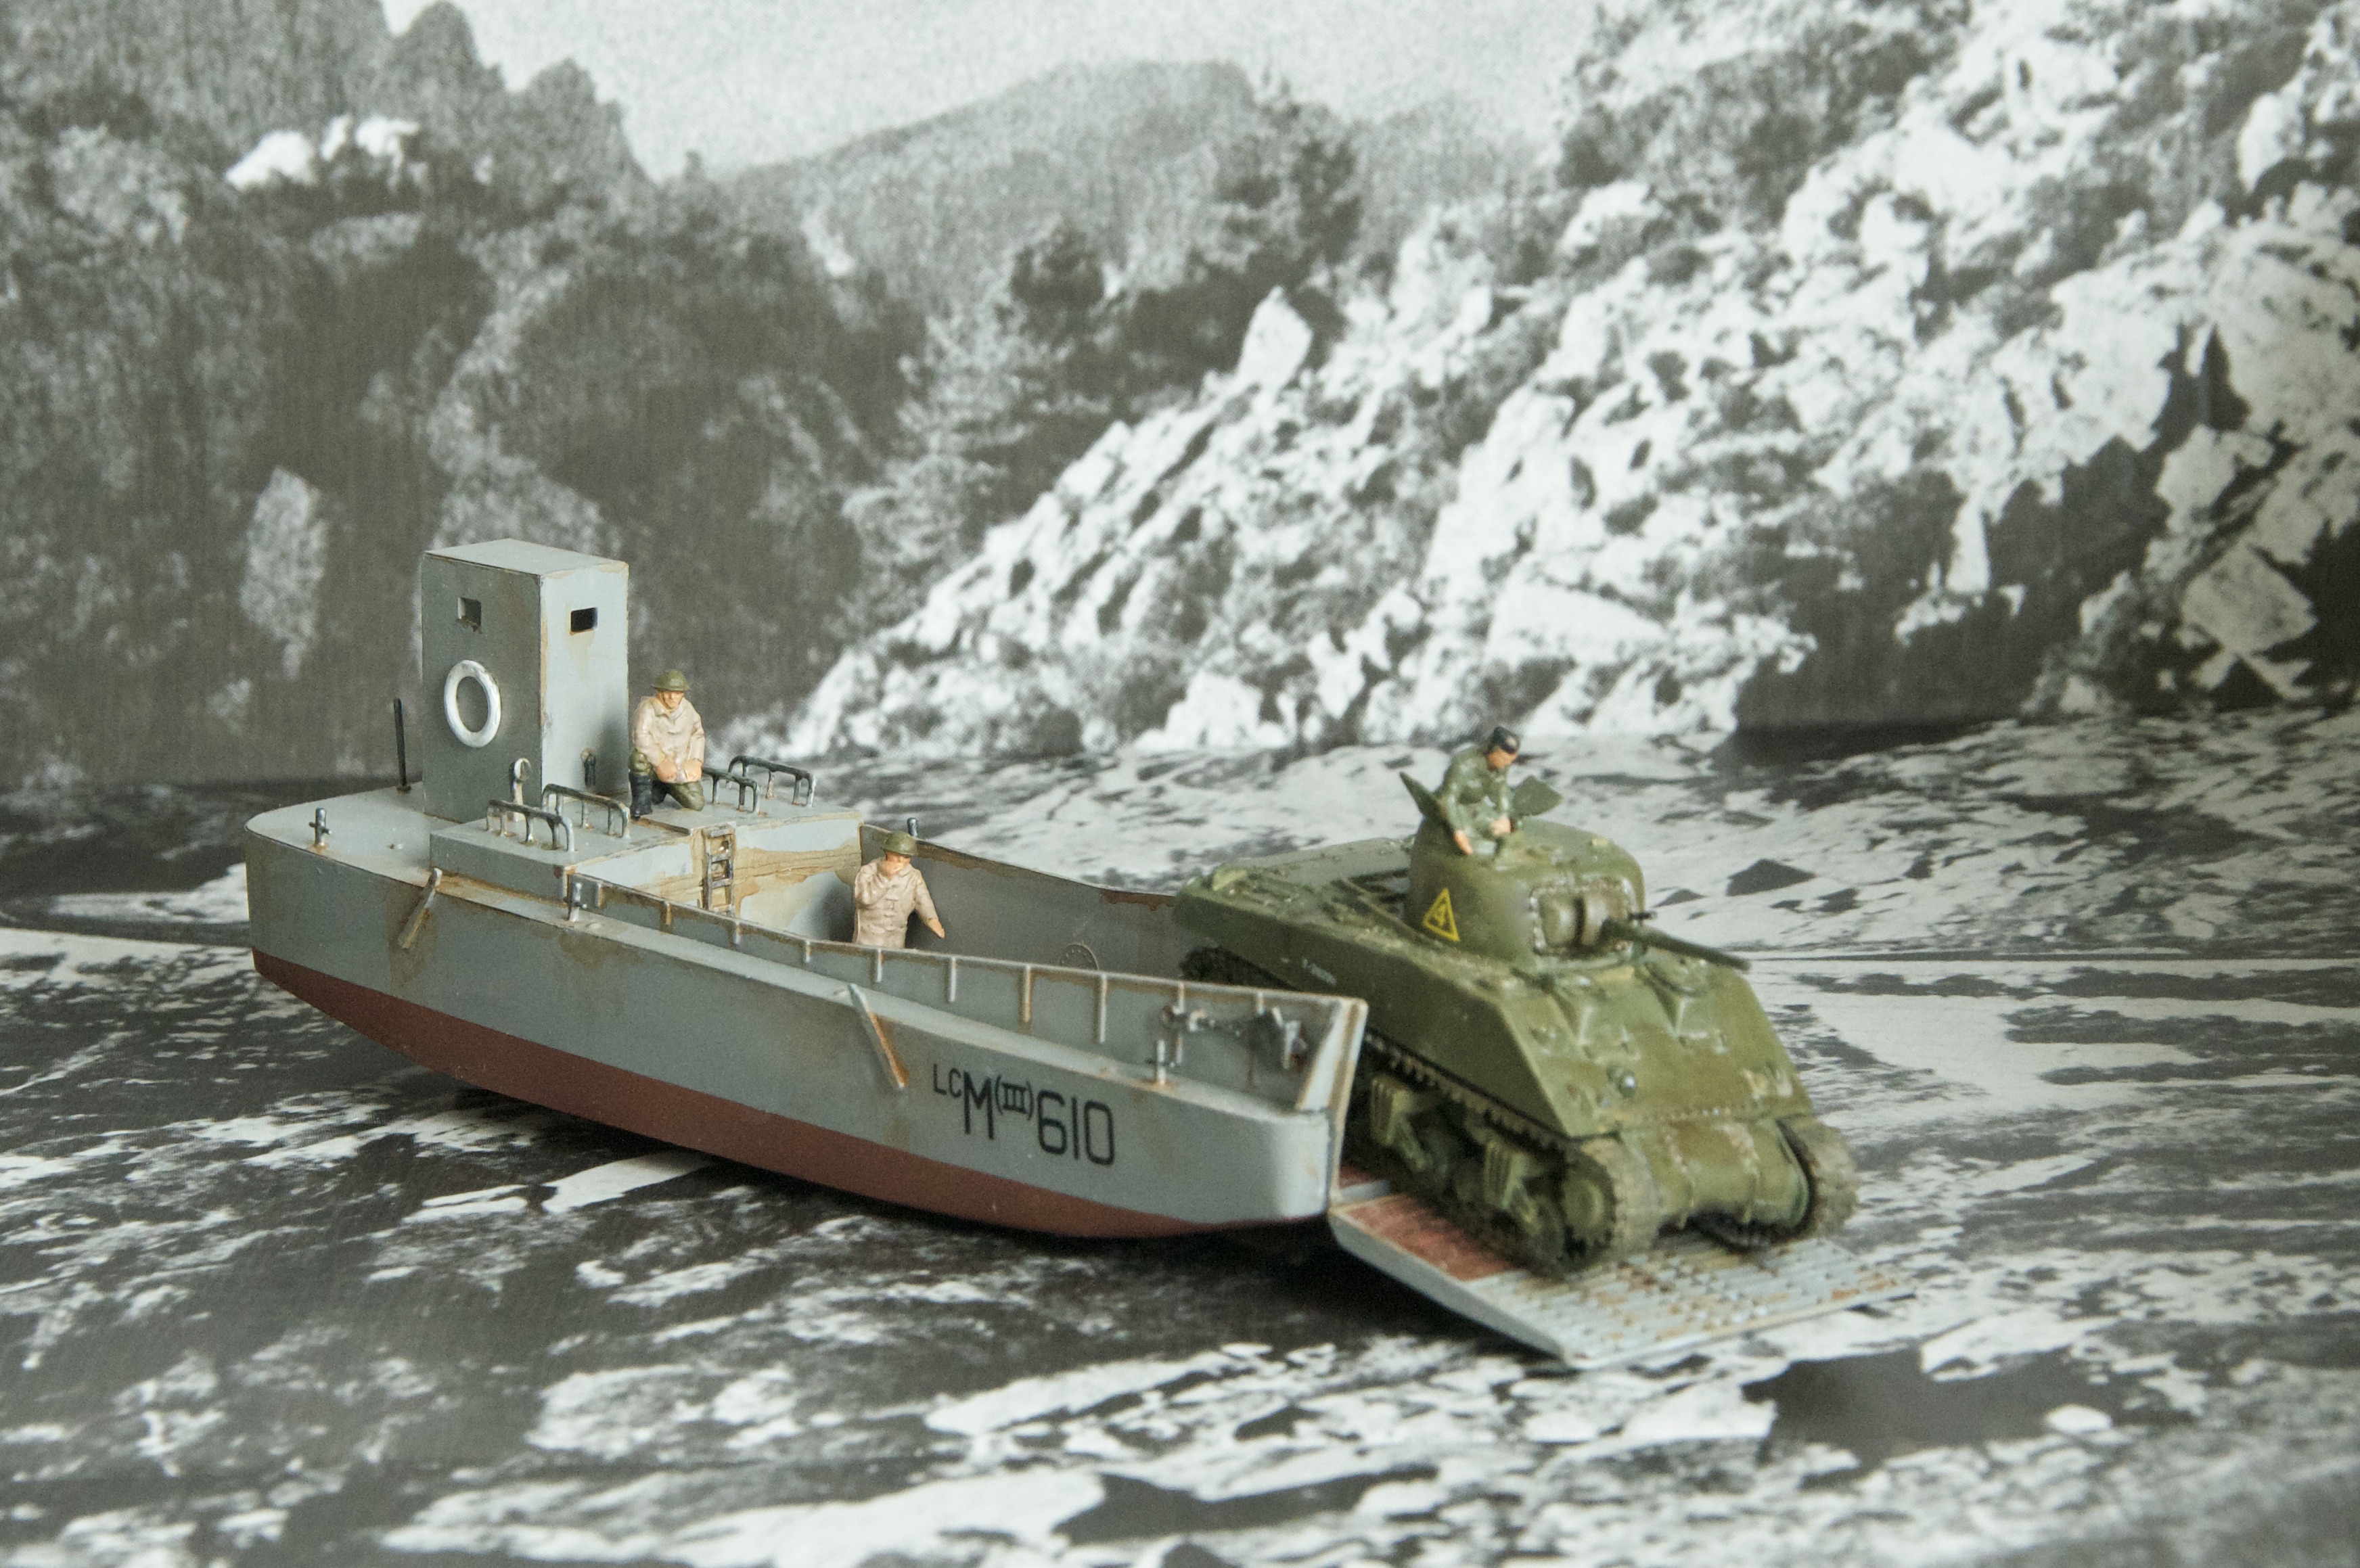
The opening day of Operation Sutton was the largest amphibious action by British forces since the 6th June 1944 landings in Normandy, and is obviously why I also frequently see the word D-Day used for the 21st May 1982 Falklands landings. As in 1944, the only way to get a large number of troops and equipment from their ships to shore was by landing craft. The LCVP Mk2s which sailed from Fearless class amphibious transport docks, could carry 35 fully equipped Royal Marines Commandos or two Land Rovers. Meanwhile, the Higgins LCVP, as I have used in my Operation Sutton build, was a US World War II variant, typically constructed from plywood, and could carry roughly the same complement of troops or a 3 ton vehicle, so very close to HMS Fearless’s Mk2s. However, while my maths was never the best, I don’t quite see how a 9 ton Scorpion/Scimitar would be carried in even the Mk2, but for illustrative purposes, if nothing else, I have camouflaged my model of Airfix’s Higgins LCVP, in the white tiger stripes as used for the landing and there is just enough room for a Scorpion/Scimitar tank, even if its weight would probably sink it!

The Scimitar and Scorpion CVR(T) - Combat Vehicle Reconnaissance (Tracked) served with two troops from B Squadron, Blues and Royals who were equipped with four tanks each. These were the only armoured vehicles used in action by the British Army during the conflict. Having previously made the Scorpion variant from an original 1975 Airfix kit, I managed to acquire a 2005 reissue to build it up as the Scimitar. The Scimitar is very similar to the Scorpion but carries the 30mm RARDEN cannon as its main weapon rather than the Scorpion’s shorter barrelled low velocity 76mm main gun. At least one Scimitar was seriously damaged by an Argentinian landmine, but the crew were unscathed, and the vehicle was salvaged by Atlantic Conveyor’s only surviving Chinook HC.1 helicopter and soon brought back into service. Scorpion and Scimitar tanks also provided air defence support with machine guns and 30 mm guns; on 23 May 1982, a Scimitar claimed the only tank to aircraft hit on a Skyhawk at 1,000 m.


---
The Model Kits ...


 |
| Driver in the front, recruited from a set of NATO troops |
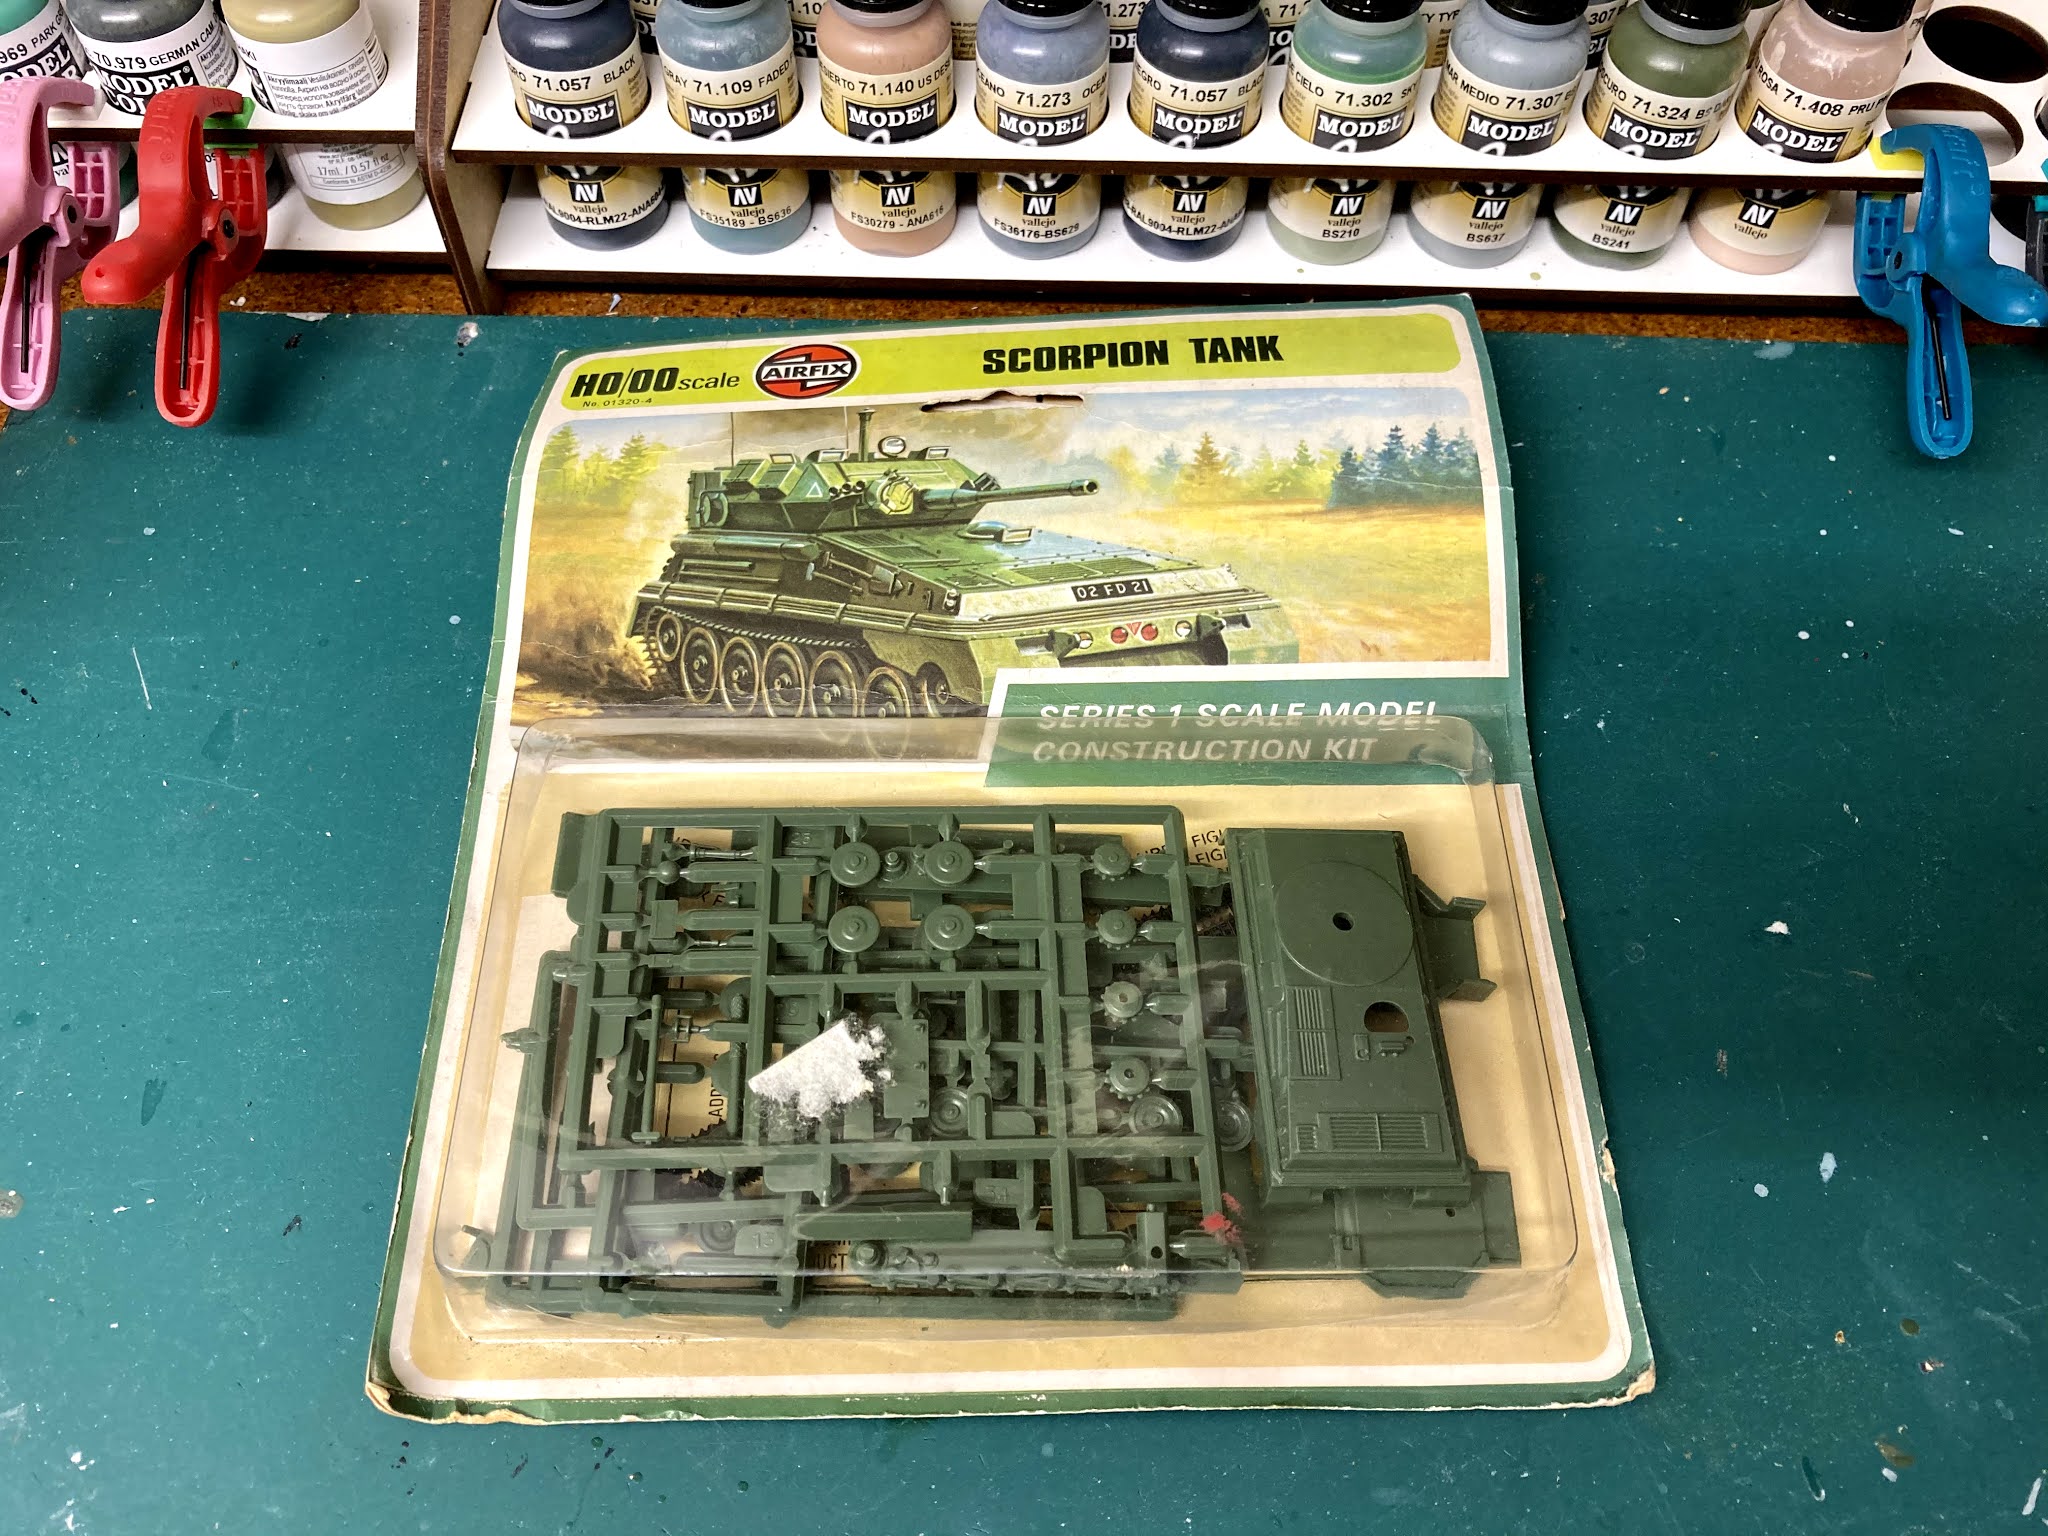 |
| The source model is the original Airfix kit from in 1975 |
 |
| Argentine Panhard and British Scorpion side by side on the modelling mat |


 |
| Cromwell, Stug III, King Tiger standoff! |
 |
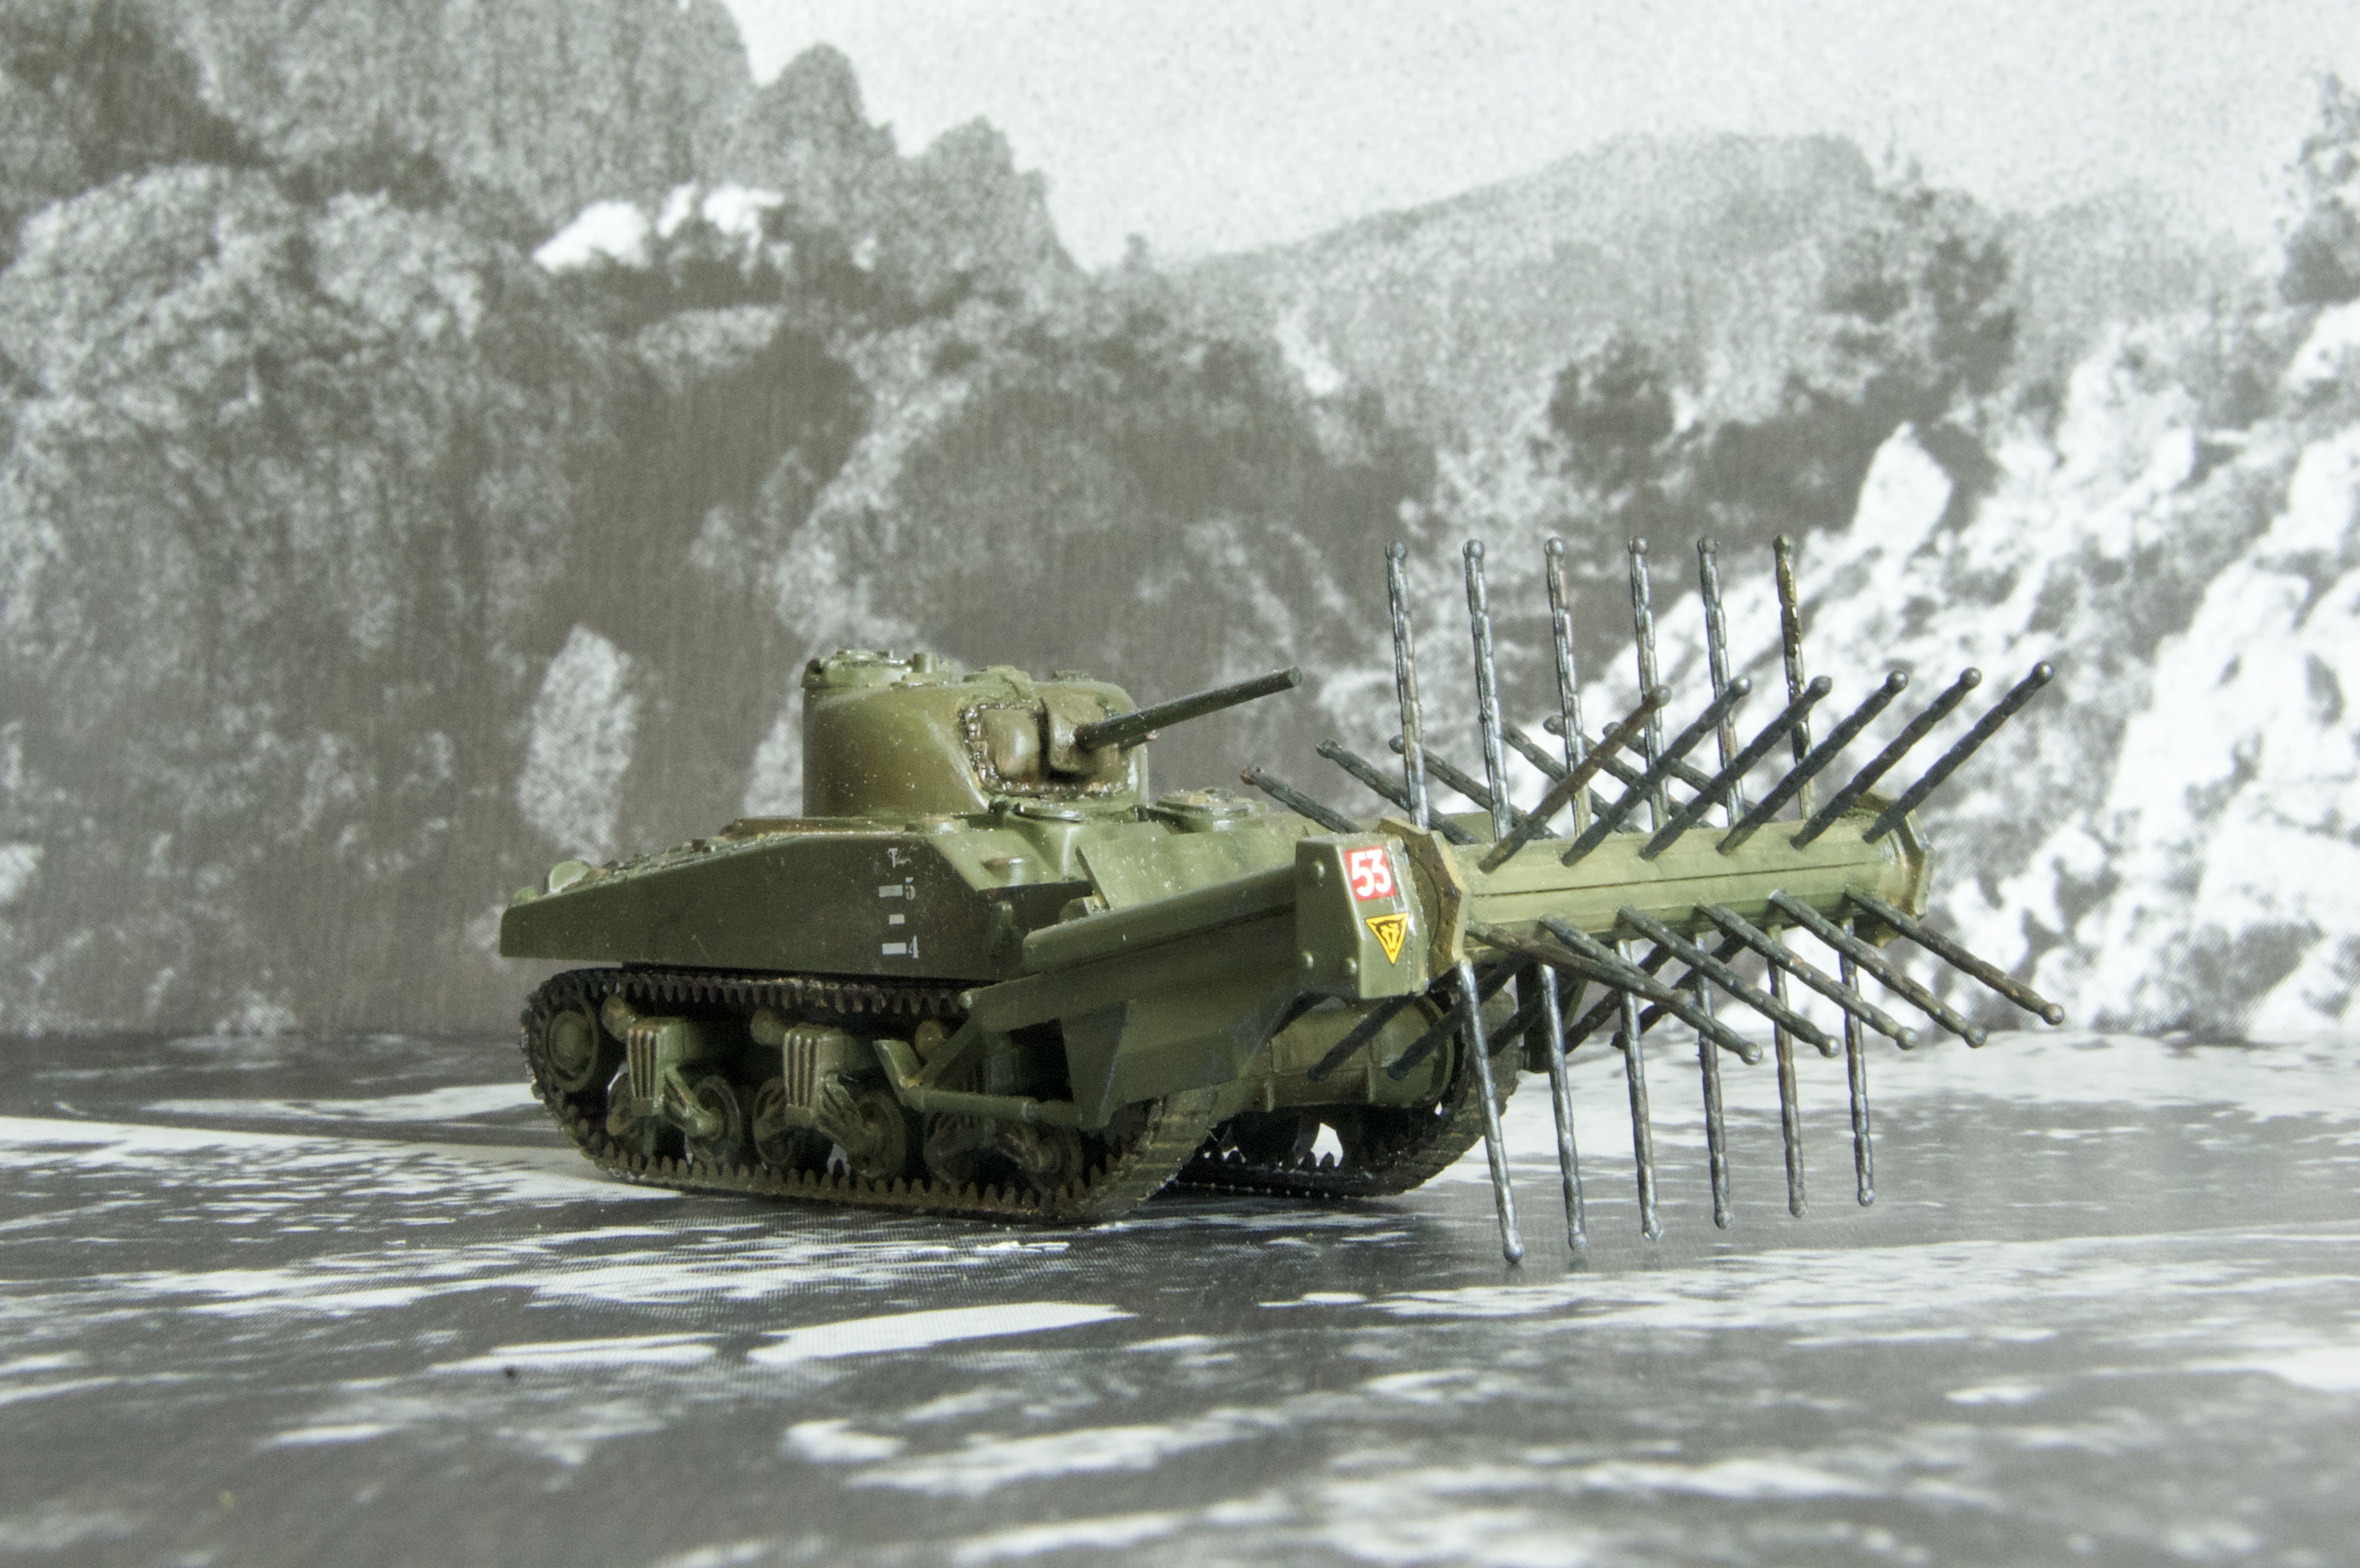
| Cromwell tank with hedge clearing attachment |
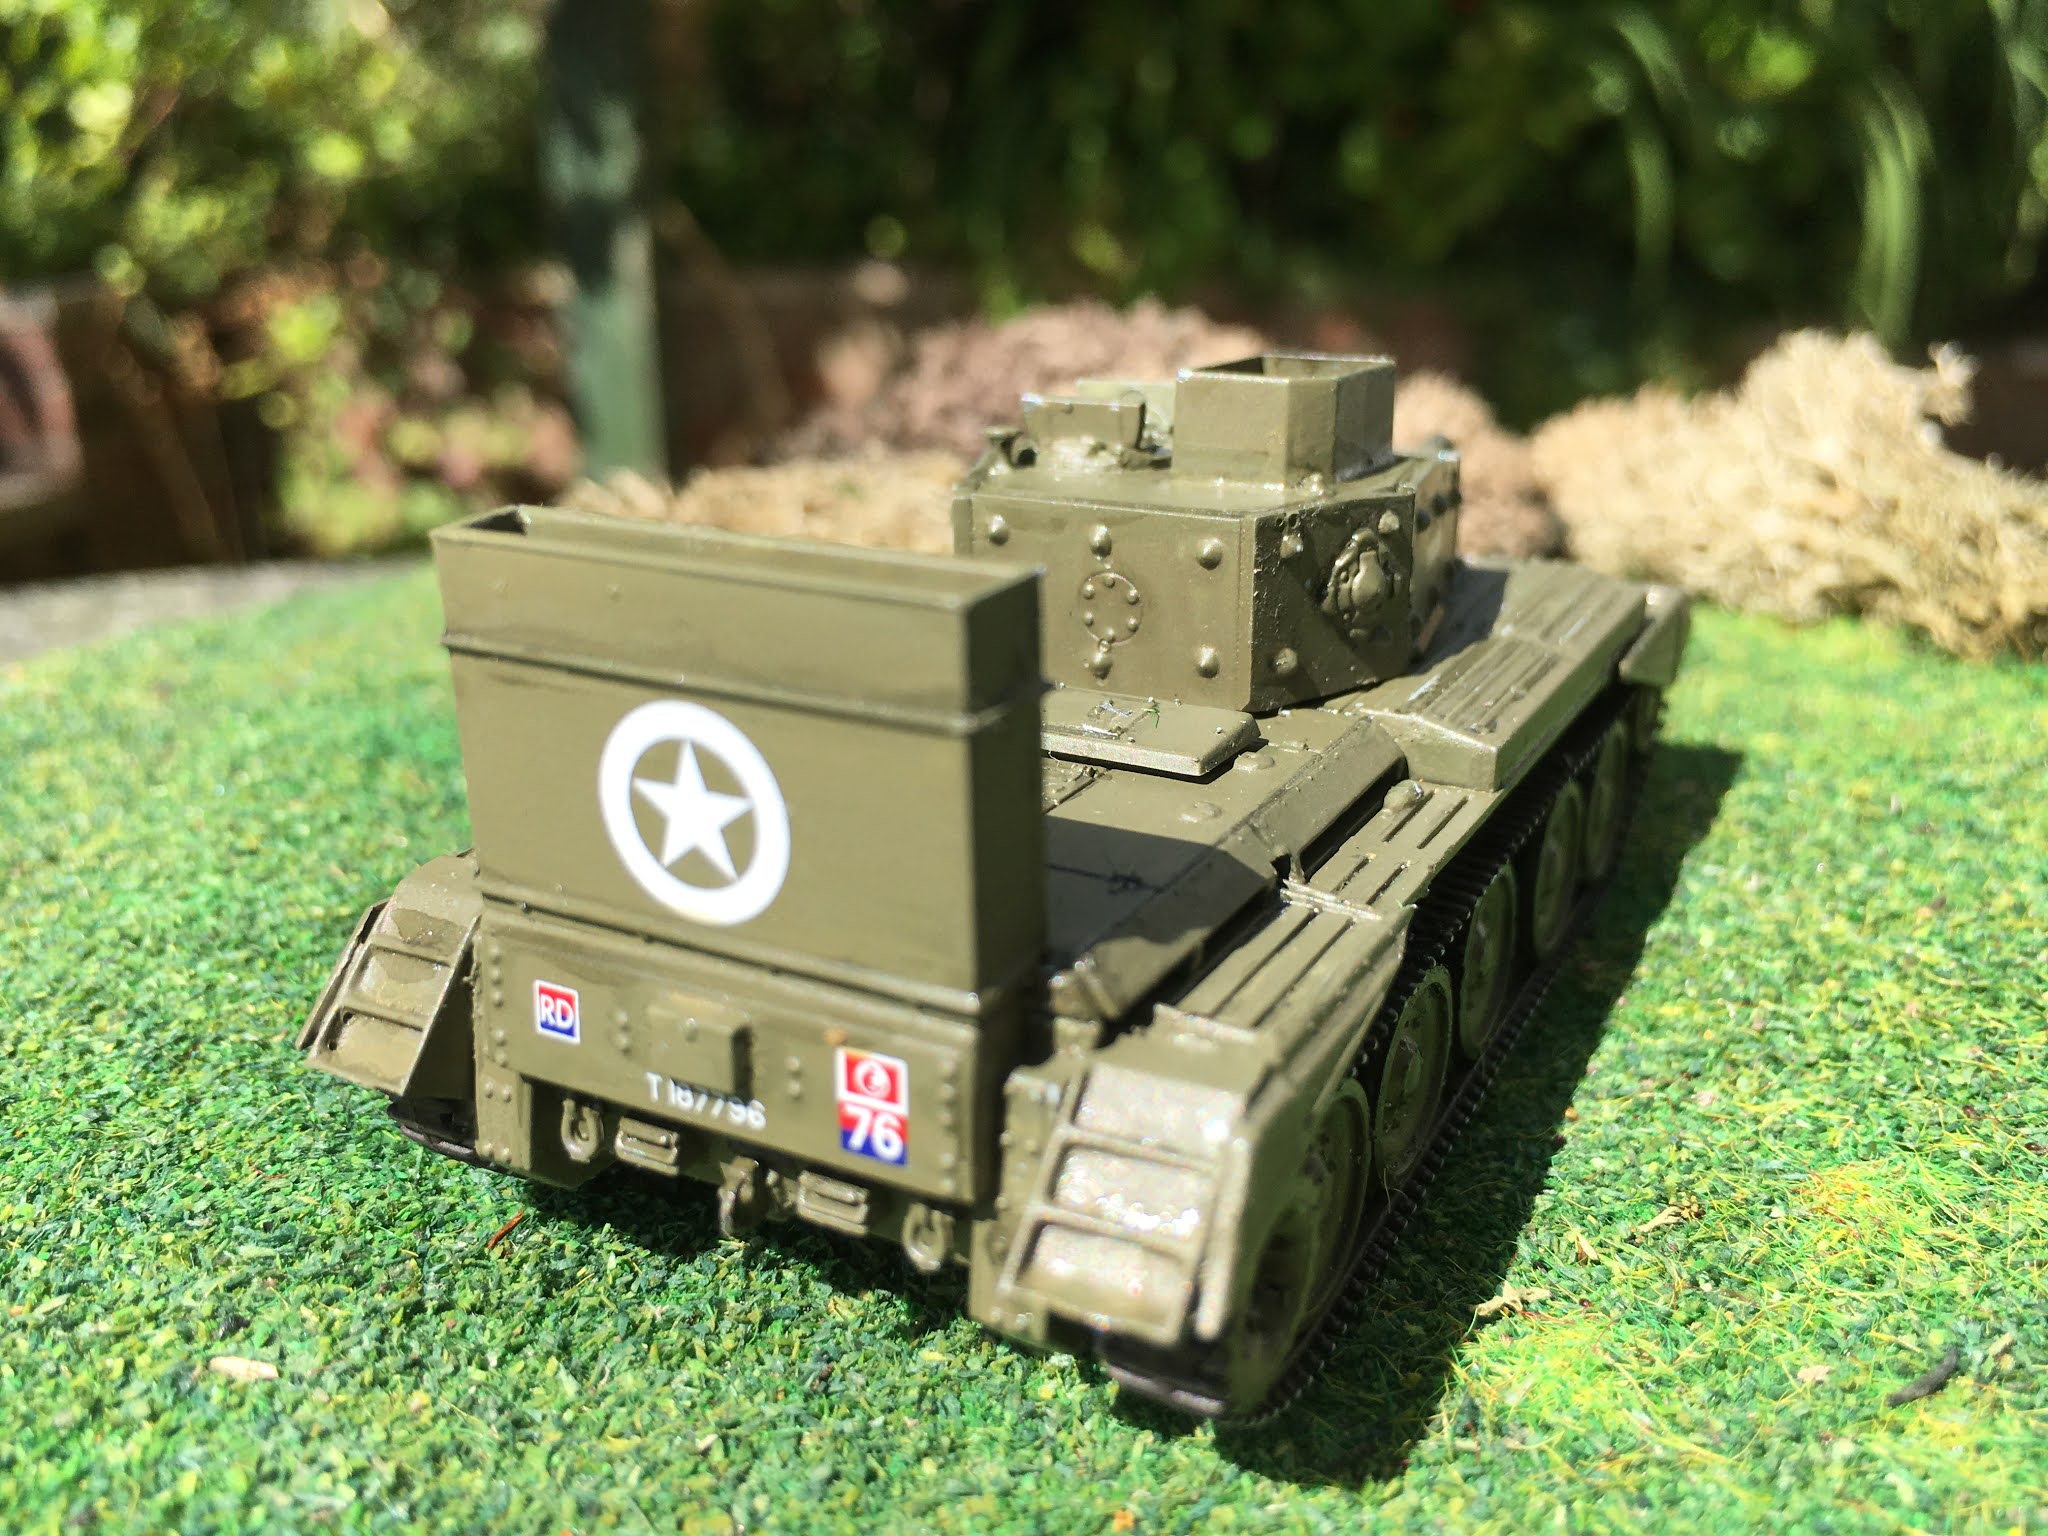 |
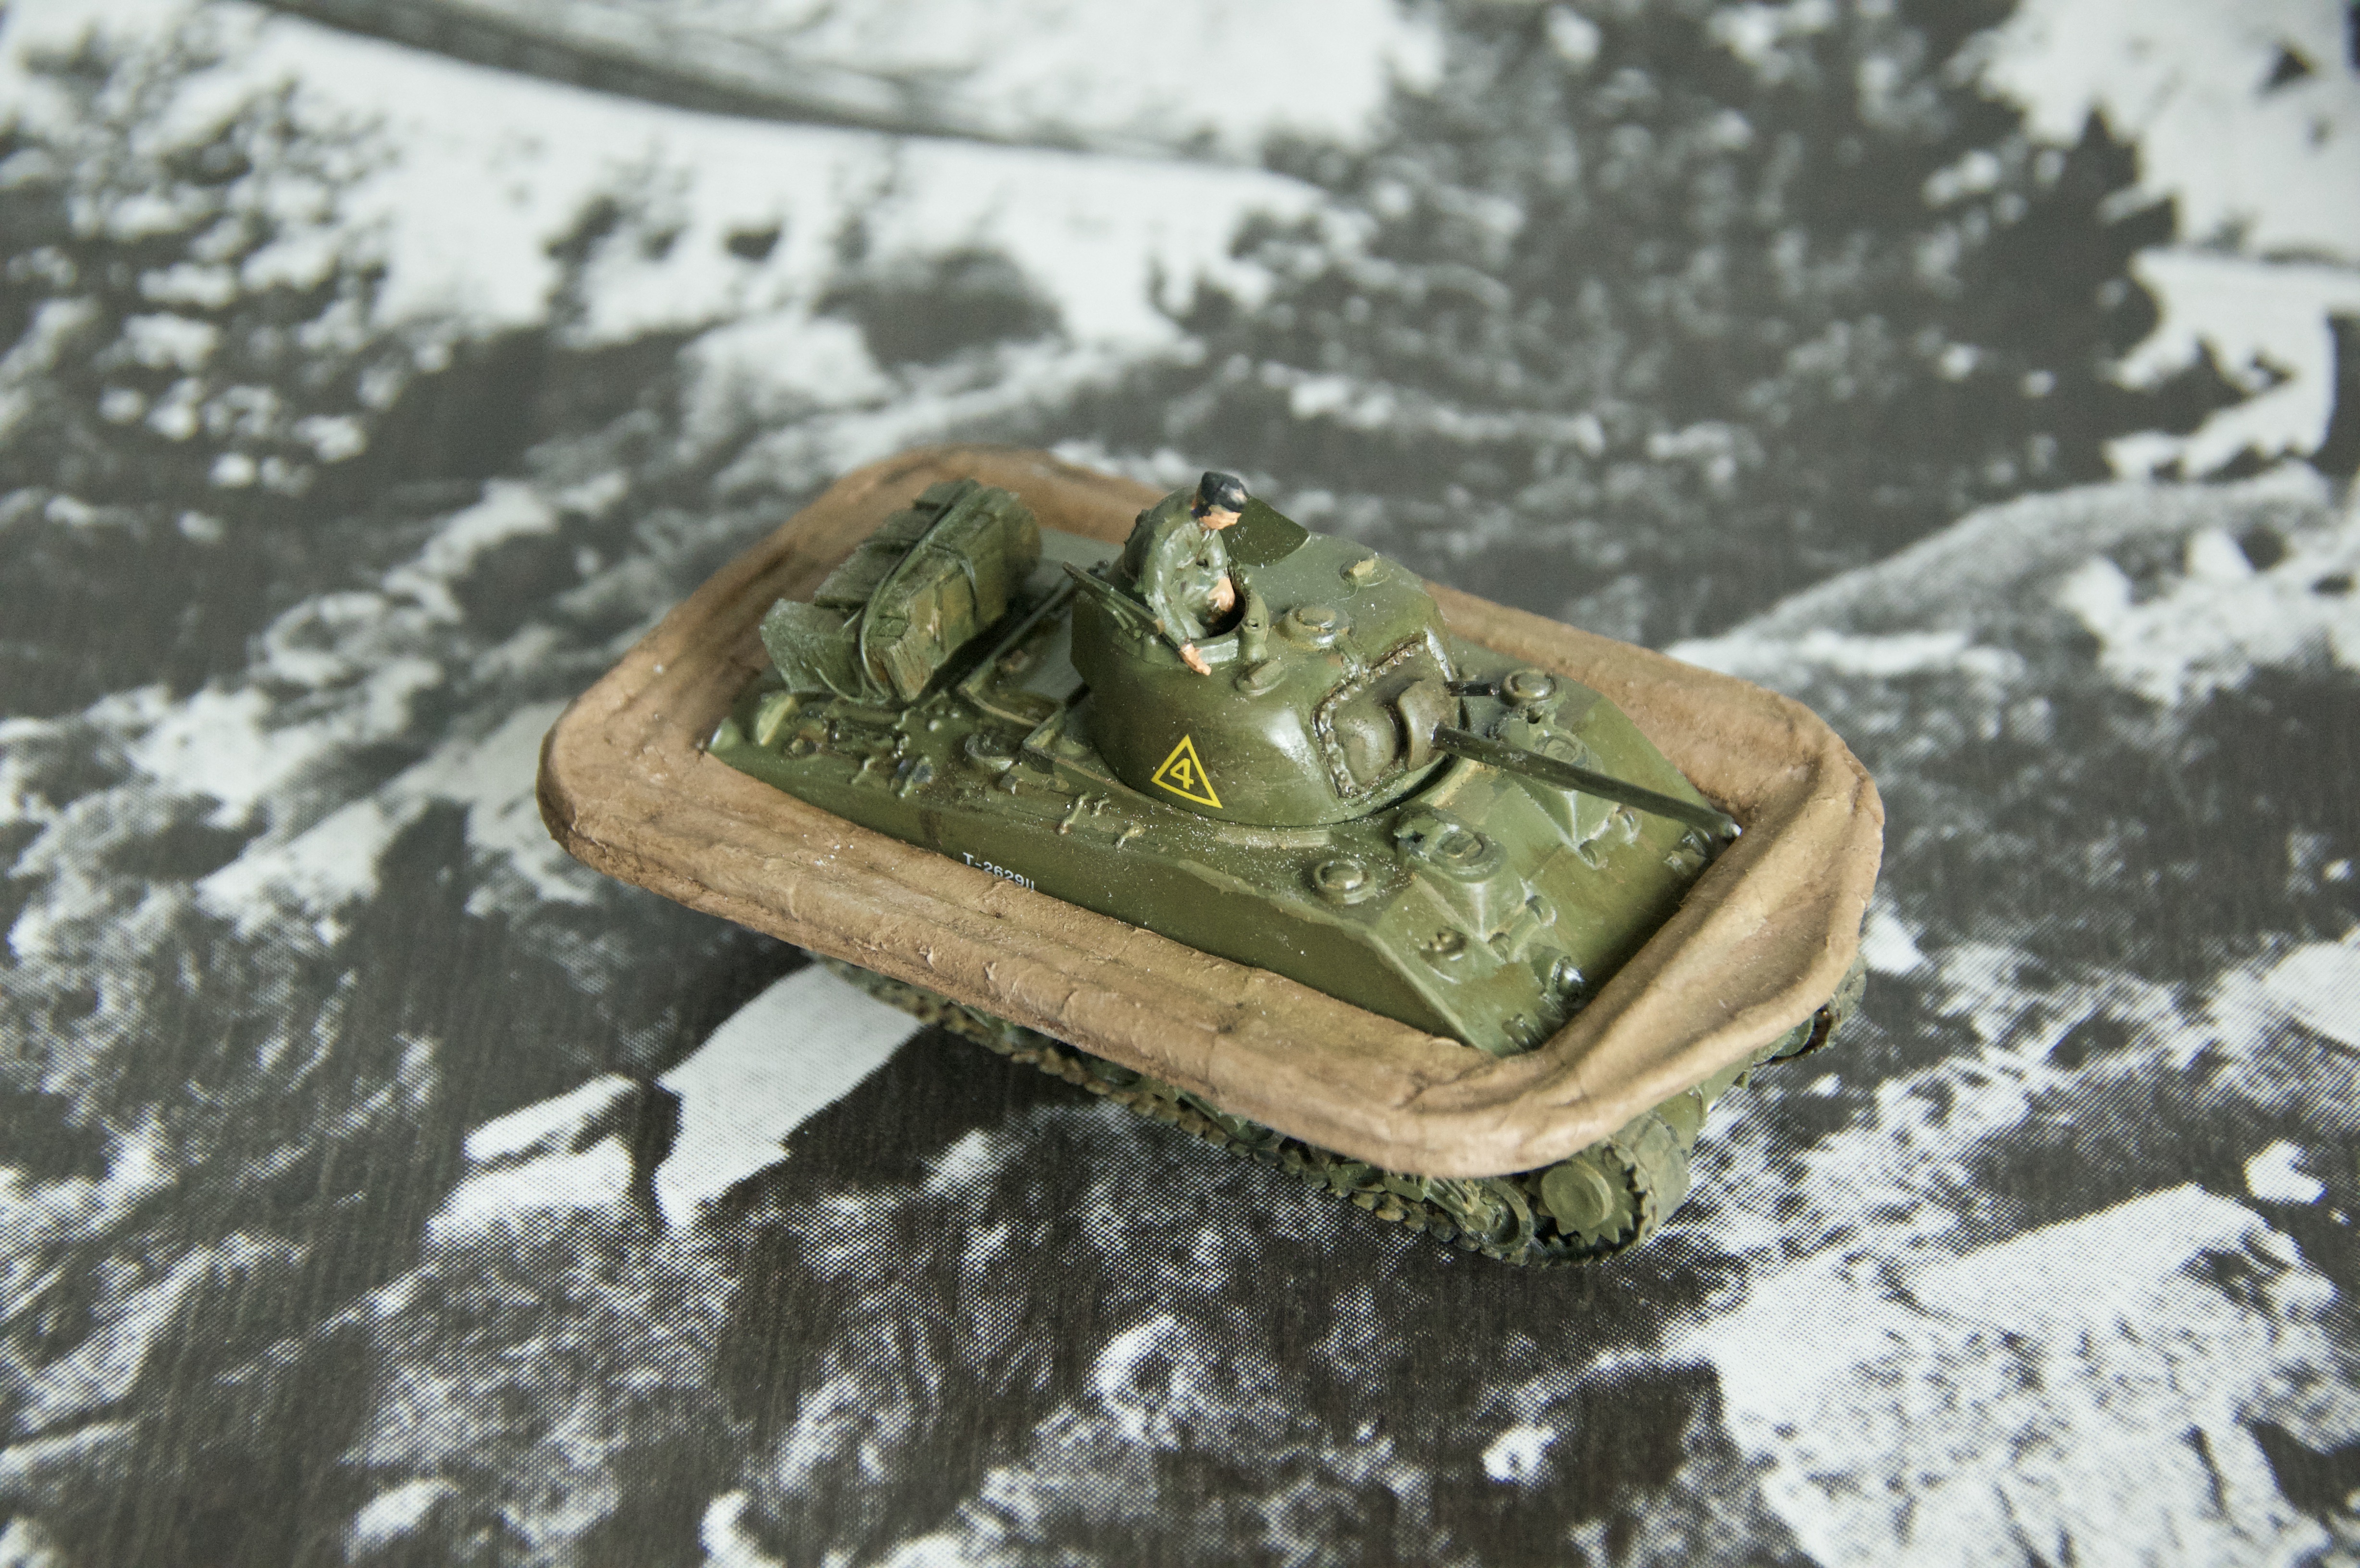
| Cromwell tank with snorkel |
 |
| Stug III |


 |
| Major General Percy Hobart |
 |
| 79th (Experimental) Armoured Division Royal Engineers |
 |
| Example of how the resources were distributed in the D-Day Landings |